PageMural logoPageMural

Small pages. Big posters.

Free Block Poster Maker

Turn a favorite photo or illustration into wall art you can print at home. A block poster uses ordinary sheets of paper to make one large picture. See how PageMural’s sunflower fits across six pages, then plan a layout for your own wall.

  • Home printing
  • A4 or US Letter
  • Multi-page layouts
Go to the workbenchLet’s make something
Free to use · No sign-up
Your image stays on your device
Sunflower block poster divided into three columns and two rows
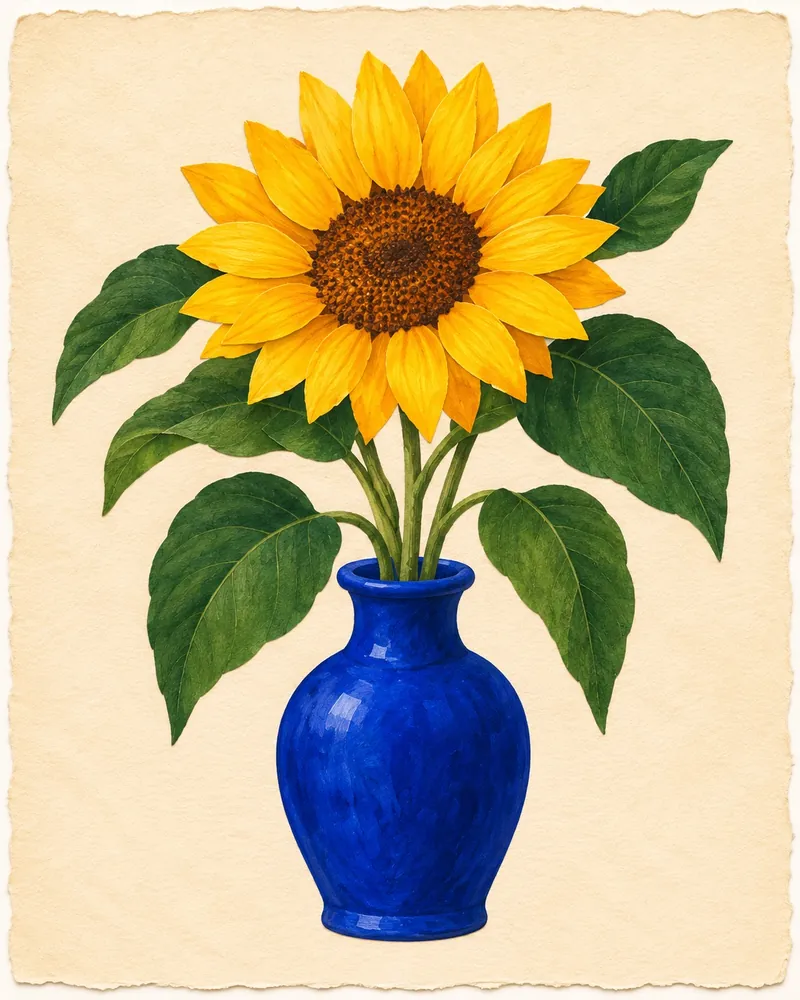
Original sunflower illustration in a blue vase
Original image
One image across six sheets

Your workbench

Drop your image here

JPG, PNG or static WebP · Up to 12 MB and 24 MP

Your image stays on your device.

Try an example

How to make a block poster

Start with the wall, the picture and a sheet from your printer. Those three things determine the size and shape of your print. Here’s how to use a poster splitter to turn one sunflower illustration into a six-sheet block poster.

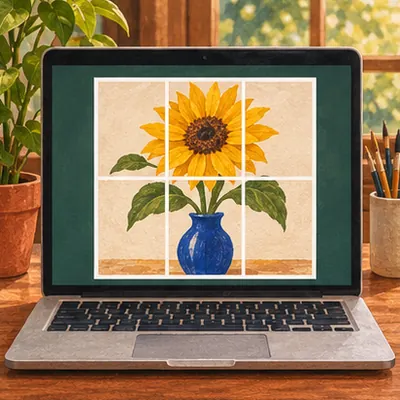
Sunflower artwork divided into printable tiles on a laptop screen
1

Choose a picture and lay out the pages

Open the largest original you have. A photo saved from a message may look sharp on a phone but soft at arm’s length. In a block poster maker, choose your paper size and count how many sheets fit across the wall. Look at the grid before settling on a crop. Keep faces, small lettering and other fine details away from a join when you can.
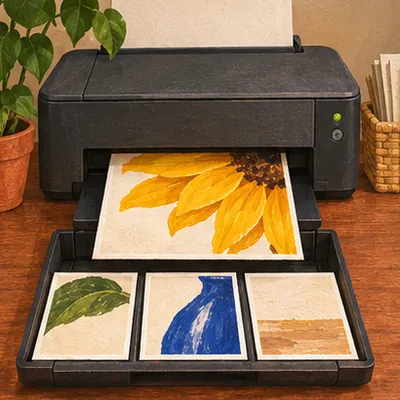
A home printer feeding out one tile of the sunflower print
2

Print two neighboring sheets first

A poster splitter divides the picture into page-sized pieces. Open the tiled PDF and print two neighboring pages on the same paper you’ll use for the finished piece. Hold them together under the light where the picture will hang. If the colors match and the outlines meet, print the remaining pages with those settings. Use single-sided printing so you can lay out the whole picture at once.

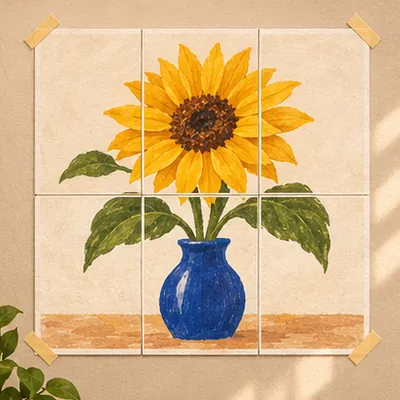
Six printed sheets arranged in two rows form a sunflower poster taped to the wall
3

Trim and assemble your poster

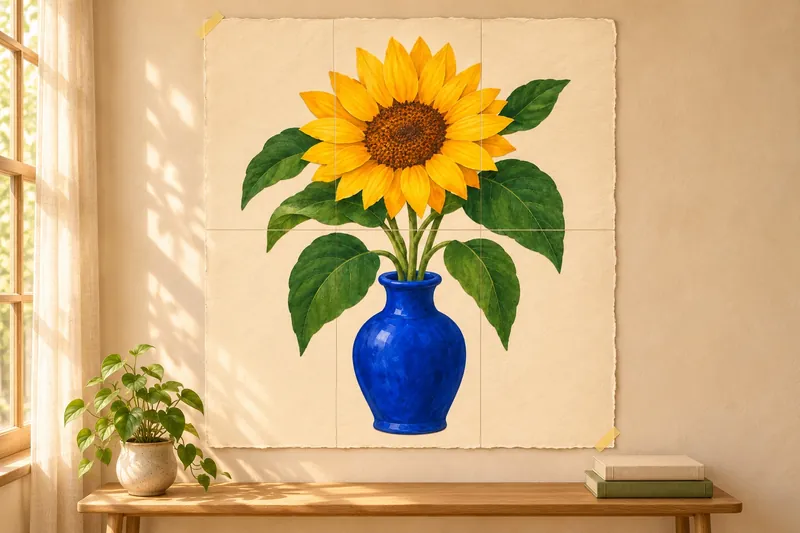
Lay out your block poster face up. For the sunflower, arrange the six sheets in two rows of three. Trim one white edge at each join and follow the petals and the curve of the vase to line up the picture. Tape the seams from behind, then hang the finished poster.

Three places to hang a block poster

The best layout depends on where people will stand. Small details can work beside a reading chair. Across a classroom or beside a busy entrance, a bold outline and a few large words are easier to see.

Six sheets form a sunflower print above a wooden console table

A botanical print above a shelf

For a narrow wall, choose a portrait image with a little space around the subject. The blue vase gives this block poster a clear center even with seams running through it. Try arranging blank sheets above your shelf before choosing a grid in the block poster maker. You can judge the scale against the furniture and leave enough room above the flower.

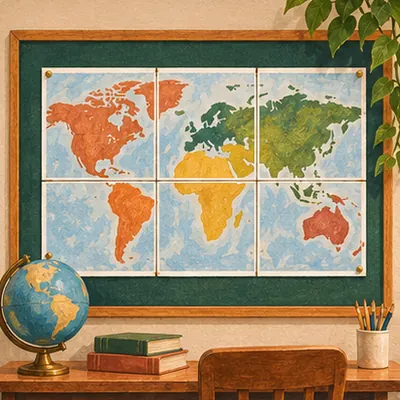
A tiled world map on a classroom bulletin board beside a globe

A classroom map students can read

Place a world map across a bulletin board and check it from the back row. In a poster splitter, see where the grid crosses the smallest place names. Adjust the crop or the page count if a join cuts through a label. For a lesson that changes week to week, leave a strip of empty board beside the map for notes, flags or student questions.

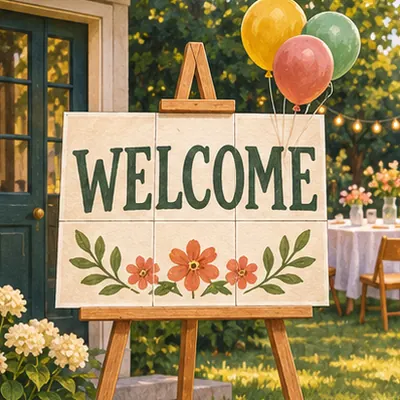
A welcome sign made of printed pages on an easel at a garden entrance

A welcome sign by the door

Use a short greeting, generous margins and strong contrast. A block poster on an easel needs to make sense while guests are walking past. Choose the size of the lettering before adding flowers or other decoration. Print a single tile containing part of a letter and hold it up at the entrance. If it reads easily from the path, assemble the rest on a backing board.

Print and assemble your pages

A block poster looks continuous when every sheet is printed at the same scale and the same edge is trimmed at each join. Keep the PDF, a ruler, scissors and tape beside you until the first row is complete.

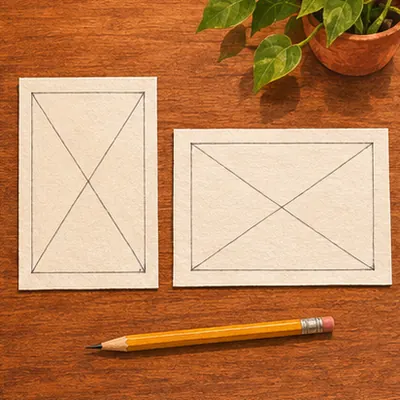
Portrait and landscape sheets side by side on a worktable

Match the paper and orientation

Check the paper loaded in the tray against the page size in your PDF. A4 and US Letter are close enough to look alike on screen, but their edges fall in different places. If the block poster maker uses landscape sheets, check the orientation in the print preview too. Look at which part of the picture reaches the long edge before you print.

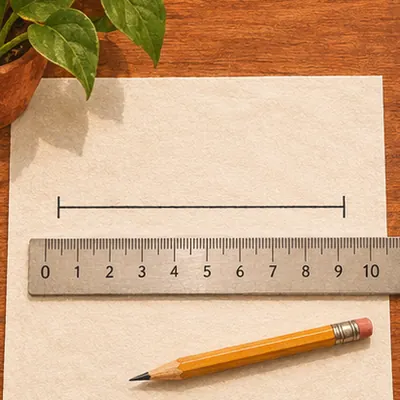
A ruler placed against a measured line on a printed sheet

Check the printed scale

Select Actual size or 100% in your PDF reader. A second round of scaling can shrink every tile and leave a pale line where two pages meet. A ruler makes a useful check if you know the length of a feature in your design. Keep that first sheet as a reference if you pause the job and come back to it later.

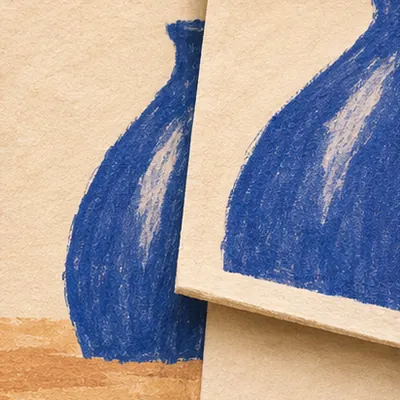
Lifted paper edges showing a repeated blue shape where two tiles overlap

Keep one overlap at each seam

The margin is the space your printer leaves at the paper edge. Overlap is a strip of picture the poster splitter repeats on adjoining tiles. Trim the white edge on the upper sheet and slide it over the matching strip below. Follow a line in the picture as you align the sheets. Cutting the repeated image off both sides can leave a gap.

Block poster questions

Do I need a large printer?

A standard home or school printer can print block posters one sheet at a time. The wall space and the number of pages determine the final size. Measure the area first and allow a little room for trimming.

How many pages will my picture need?

Before choosing a layout in a block poster maker, lay blank paper across the intended width and count the sheets. A poster splitter preview gives a closer estimate because margins, overlap and the shape of the picture affect how many rows you need.

Which image should I start with?

Choose a clean original with plenty of pixels. A block poster maker can enlarge a photograph, but it cannot recover detail lost in a screenshot. Check a face, fine line or small word on a test tile before printing the full set.

How can I print just one damaged tile?

Keep the original tiled PDF. Find the damaged tile in the page thumbnails and print that page number alone. Use the same paper, orientation and scale as the first batch so the replacement fits your block poster.

Why is the picture cut off at the edge?

Most desktop printers leave some paper outside the printable area. If the poster splitter layout extends into that area, part of the image can disappear. Allow a margin your printer can handle and test two adjoining pages.

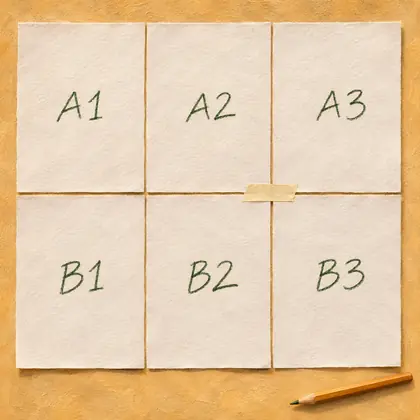
How can I keep loose sheets in order?

As the sheets come out, make a light pencil note on the back of each one. Mark the row, column and top edge. This is especially helpful with block posters that include several pages of plain sky or sea.

Backs of six sheets marked A1 to A3 and B1 to B3 in two rows
What if the seams drift across a row?

Lay the row flat and check the first join where a line stops matching. A small tilt there carries into the following sheets. Loosen that join and realign the picture before taping the row to the one below.

Does my block poster image stay private?

PageMural processes the image you select in your browser. You can use a personal photo without creating an account or sending the file to a print shop. Keep a copy of the original on your device for future prints.

Finished six-sheet sunflower poster taped to a wall

Plan your own block poster

Choose a picture for your PageMural project, measure the wall and start with a two-sheet test.